The snow gauge is a DIY ultrasonic sensor all of it is running on a raspberry pi 2B.
Click HERE for the Snow Gauge.
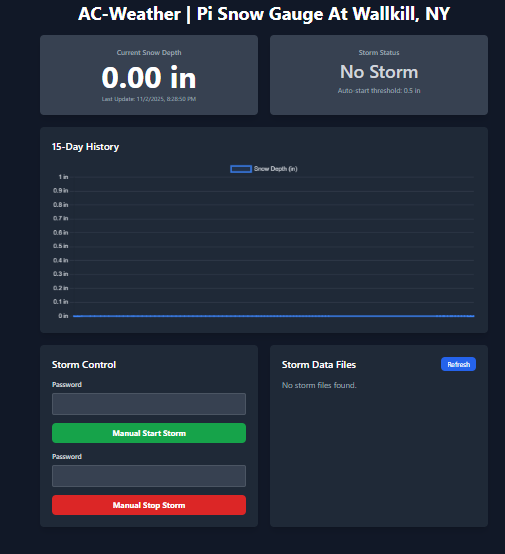
What do you get with the Snow Gauge:
- Updates every 45 seconds
- View data from the past 15 days
- Downloadable CSV files for individual major snowstorms
- All for FREE!
If you want to build this in your BackYard here is what you will need:
- Raspberry Pi of any type. If you get the Raspberry pi zero make sure you get one with header Pins
- Waterproof Ultrasonic Module JSN-SR04T.
- Waterproof case for your Raspberry Pi and Ultrasonic Module JSN-SR04. Its two parts one is waterproof the other part is not.
- Breadboard Jumper Cables Female to Female.
I will include the software and instructions as a zip file to download
Software Setup
- Clone/Download: Get the
app.pyand thetemplates/directory onto your Raspberry Pi. By usingwget https://ac-weather.com/wp-content/uploads/2025/11/SNOW-GUAGE-PI-AC-WEATHER.zip - Then
unzip SNOW-GUAGE-PI-AC-WEATHER.zip -d /SNOW-GUAGE-PI-AC-WEATHER/ If unzip is not installed you can install it usingsudo apt install unzip - Install Dependencies:
pip3 install flask requests RPi.GPIO - Configure
app.py: Openapp.pyand edit the configuration section at the top. This is REQUIRED.GPIO_TRIG&GPIO_ECHO: Change these if you used different GPIO pins.SENSOR_HEIGHT_INCHES: This is the most important setting. Mount your sensor in its final location (e.g., under the eaves of your house), then, with no snow on the ground, measure the exact distance from the sensor to the ground in inches. Enter that value here. The script calculates snow depth by(SENSOR_HEIGHT_INCHES - measured_distance).STORM_PASSWORD: Change this to your own secret password.WEEWX_ENABLED: Set toTrueorFalse.WEEWX_URL: IfWEEWX_ENABLEDisTrue, set this to the URL of your WeeWX server.
- Generate HTTPS Certificates (Required): This server uses HTTPS. You must generate a self-signed certificate and key file. Run this command in your project directory (the same one as
app.py):openssl req -x509 -newkey rsa:4096 -nodes -keyout key.pem -out cert.pem -days 365 - This will create
key.pemandcert.pem. You can fill in the prompts with any information you like or just press Enter. - Run the Server: You must use
sudoto grant the script access to the GPIO pins. - Run:
sudo python3 app.py - Access the Dashboard: From any device on the same network (your phone, computer, etc.), open a web browser and go to:
https://[YOUR_PI_IP_ADDRESS]:443Note: Your browser will show a security warning (e.g., “Not Secure” or “Your connection is not private”) because the certificate is self-signed (not verified by a central authority). This is normal and expected. You will need to click “Advanced” and then “Proceed to Site”